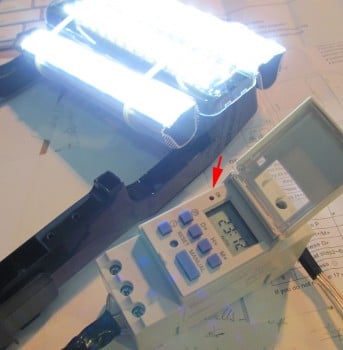
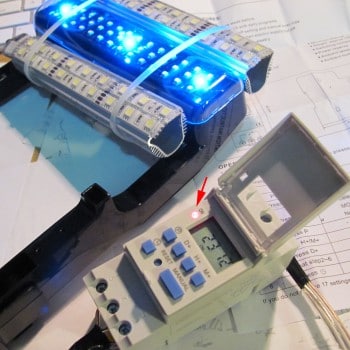
I have got a few requests to describe just the timer upgrade without the LED upgrade. Hopefully, this post will cover that.
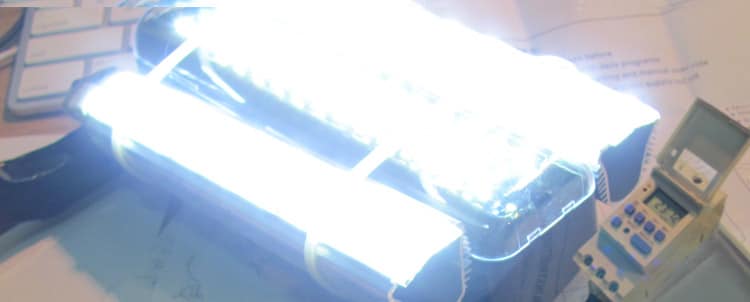
This mod shows you how to insert a power programmable timer relay into the lighting system, which will automatically switch from daylights to night lights at a set time (by you) every day. It uses the existing power supply and LEDs and only requires you to buy a power programmable timer relay and a bit of wire (~$10), which you will insert between the existing power supply and the light switch. The timer relay will draw power from the current power supply, and will then automatically send it either to the white day lights or the blue night lights, depending on the time of day.
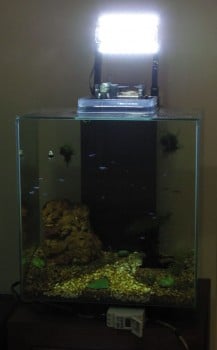
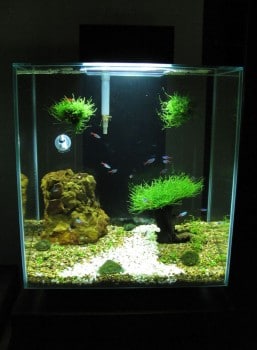
Recently I bought a Fluval Edge 2 aquarium 46L (12 gallons). The tank is beautiful and stylish, but soon I realized that the lighting system is a bit of a let down for me although it is a big improvement from the previous version.
“It comes complete with the new powerful & efficient 42 LED lighting system with deep blue night light setting. 7600k high luminosity LED’s suitable for aquatic plants.
Complete with a 3 position on and off light switch with bright white daytime or deep blue night light or off position. ” – you can read a few reviews.
There was a letdown for me. The switch is manual, and I got annoyed to switch on and off the light each night and each morning.
So I decided that if possible automate the lighting system with a timer. However I did wanted to keep the warranty so all the modifications I did, did not alter any original component of the tank. Which means in case anything in the original setup breaks you can still revert back everything to the original condition and claim your warranty.
DISCLAIMER: This modification is experimental, so if you decide to do it yourself then you are on your own, I can’t be held responsible for any problems/issues/damage/injury that may occur if you decide to follow this build.
All the modifications I wanted to do with a low budget and I am sure if you want to spend more you can build even something much more sophisticated.
So here is my solution!
Parts:
1 Digital LCD Power Programmable Timer – AU $10.38
1 5.5×2.1 DC Power Female Jack – AU $1
1 5M speaker cable – AU $4.99
Total budget: AU$ 16.37
Everything was bought from eBay and prices include shipping to Australia.
I am sure you can find wire strippers or even wires around your house, and the total cost can be cut down even more :).
The plan
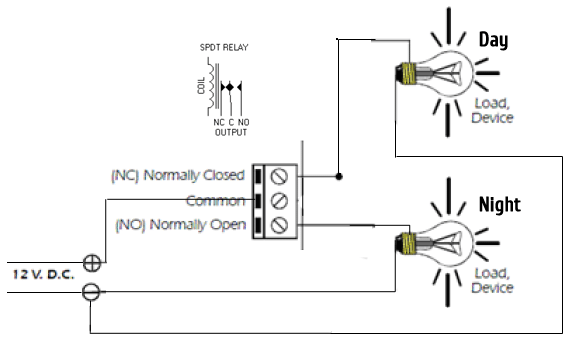
As you can see from the image, the relay will switch between day and night light. There is no off position just if you unplug the system from the power supply (or you switch off the switch, but you’ll see this later).
The Day light is connected to the Normally Closed position of the relay since in this case, the relay won’t consume any power to activate the relays magnet.
Under the hood – disassemble Fluval Edge 2 lighting unit
First be sure everything is unplugged from the main power supply 🙂
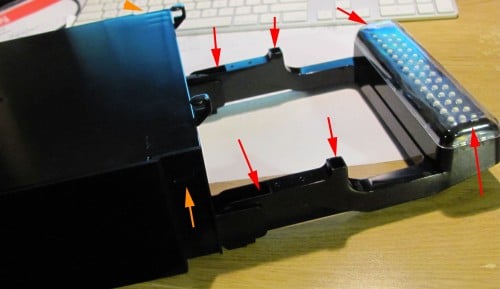
To disassemble the lighting unit you need to unscrew 6 screws as seen in the image. The LED are covered with a transparent plastic, but this can be easily removed using your nails or anything that won’t damage the plastic.
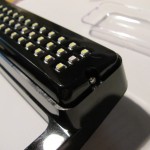
(click on the image for the full-size image)
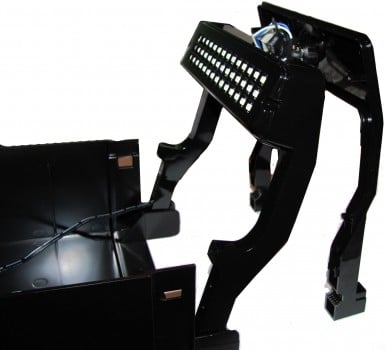
The unit will come into two peaces as seen in the image below and you will see just some wires connected to the switch and to the panel with the LED’s.
The switch is a 3 position switch with blue (night mode), white (day mode) and the off position.
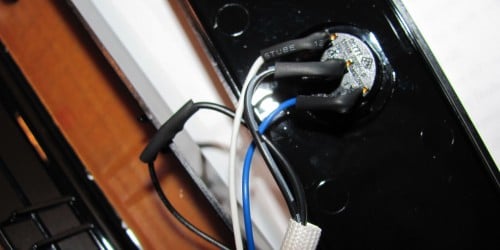
As you can see there are 2 wires coming from the power supply, one is connected directly to the LED board, while the other wire is connected to the switch. Then the switch has 2 outputs, a white and a blue. As you move the switch from on position to the other it will make the connection between the wire from the power supply to the white wire or alternatively to the blue wire (the off position obviously won’t connect to anything). Simple as that.
Having seen this setup my plan was to leave the switch connected to the white wire all the time and add an extra wire to the blue wire. Then I wanted to connect the 2 wires to a timer that will switch automatically the light for me. You’ll see later how this was done.
Wiring the Switch – Fluval Edge 2 lighting unit upgrade
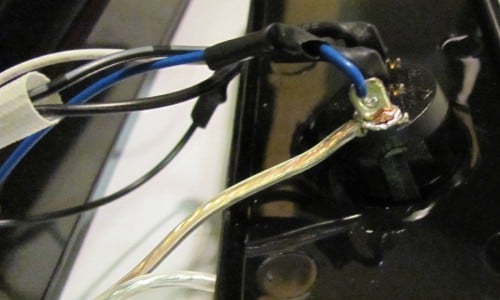
As I mentioned earlier, I will be adding a new wire to the blue (night mode), and this will be connected to the timer. Since I wanted to avoid losing the warranty, this new wire was connected to the switch tightly but without actually soldering to the switch. If you don’t care about the warranty just solder to the switch. Otherwise, the plastic isolation can be pushed gently upwards, and you will have enough room to connect the wire. Isolate the wire with some new tape, and leave the original isolation untouched since in case you want to revert back to the original setup you’ll reuse it. That’s all, we are done here! Let’s see what we did so far:)
Since the wiring of the unit was done, you can put the unit back together. We ended up with a new wire connected to the blue wire, the white wire is connected using the switch on position for daylight, and we have the third wire connected directly to the LED board.
Let’s test this. Connect 12V to the new wire and one of the wires from the original connection. The blue light will turn on.
Connect 12V to the original wires and the white light will turn on.
Installing the Timer – Fluval Edge 2 lighting unit upgrade
Before I installed the timer, I wanted to tidy up a little bit the cables, and I used sticky tape to tie them together. I ended up with a few wires 🙂 One for each extra LED extension, one wire for the blue light and one wire for the original lights.
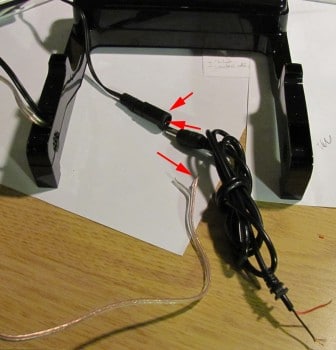
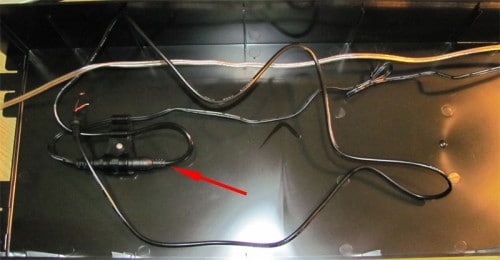
In the image above you can see the original cable coming from the LED’s. The power supply was disconnected, and a cable from a broken power supply was used to extend the cable. As I mentioned you don’t need to cut, modify any original component of the aquarium 🙂
(click the images for a full picture)
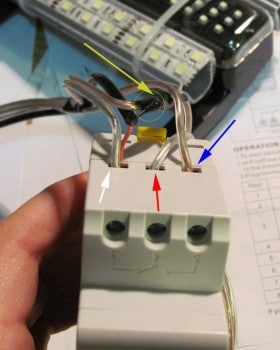
The wire with the red mark is coming from the power source, the one marked with yellow is also connected directly to the power source. The timer will connect the red wire to the white and blue alternatively based on your settings. On this image, you will see an extra wire next to the red wire (white arrow), and the other end is connected to the blue end. Disregard these wires; it’s not required for the timer upgrade. The image was taken when I added an extra LED connected to the end of these wires.
The power supply is used to power both the timer (with the relay) and the lights as well. The power supply is powerful enough to drive both units. In the night mode the timers’ relay was powered and the blue light and together they are using 0.05 A.
Normally closed position of the timer on the left and relay engaged on the right. You can program the timer differently for each day, and each day can be one day mode and one night mode.
The End Result – Fluval Edge 2 lighting unit upgrade
The timer will switch the lights automatically, and you won’t be annoyed to manually switch them.
I hope the information on this page was helpful and you already started cracking to add a timer to your aquarium 🙂 If you need help drop my a line and I will try to help with what I can.
If you have a higher budget and you want smooth light transition, or you want light for a reef setup, have a look at this website: http://www.nano-reef.com/forums/index.php?showtopic=288026
PS: Suggestions, ideas, text corrections are welcome 🙂
